What you need:
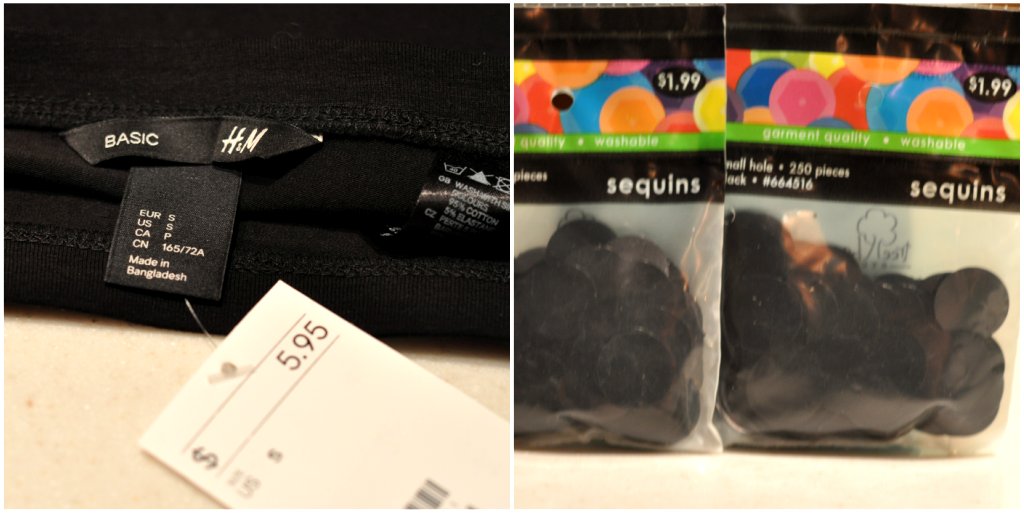
- You’ll need a basic knit skirt. That's why I call it semi-DIY since I didn't sew the skirt myself. For $5.95, it saved me a lot of trouble and time. I got mine at H&M but you can also find similar skirts at Forever 21 for cheap.
- Sequin: I bought 5 bags of sequin from Hobby Lobby for 1.99 each. I personally like the larger sequins and not too sparkly. You can purchase sequins in a variety of sizes, shapes and colors from craft stores.
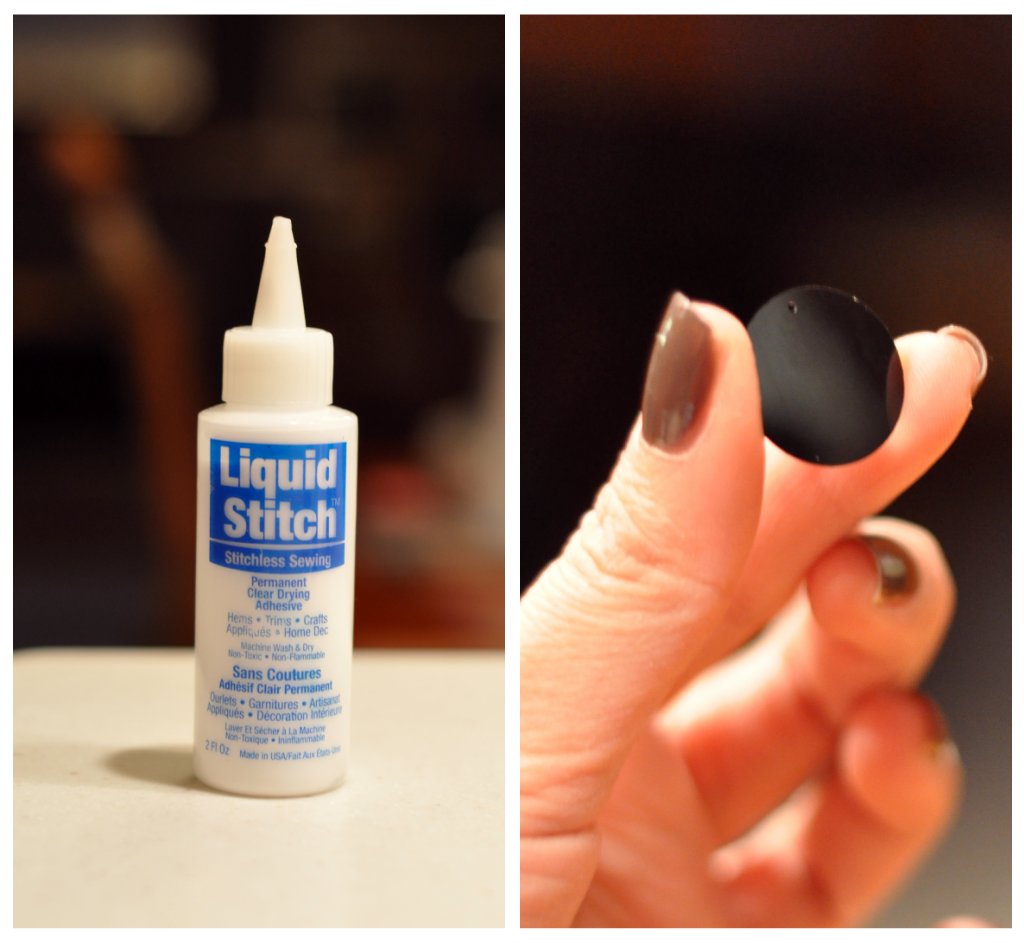
- Fabric glue: I got this Liquid Stitch Adhesive at Joann but it can be found at any craft-supply store.

How to glue sequins:
- Lay the skirt on a flat surface such as your counter top or a piece of hardwood.
- Squeeze out a tiny dot of glue on the matte side of the sequin.
- Place the sequin on your skirt and press down slightly until a dot of glue oozes through the center of the sequin.
- Continue applying the sequins until you have a straight horizontal row.
- Start the 2nd line using the above steps until you’re done.

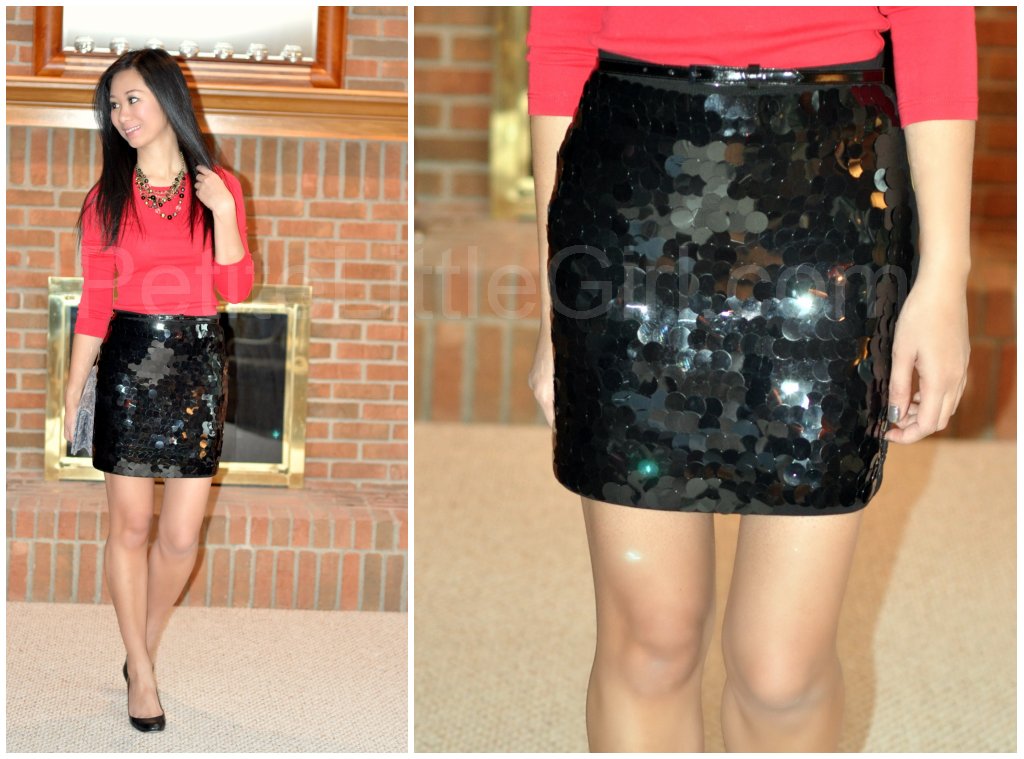
After 5 hours and 1250 pieces of sequins (I used up 5 bags – 250 pieces per bag), this is the final product. I hope you enjoy this tutorial as much as I do. I've been looking for a fun sequin skirt for special occasions for a while but couldn’t find anything that suits me. I had so much fun with this project and the little one did too =) If you end up making one, please share with me!
Have fun!
Sydney


28 comments:
Omg. Smart idea. I purchased a gold sequin skirt from H&M and I think your look so much better. I think I'm going to give this a try. Thanks for sharing!!
Thank you for the tutorial. I have been looking a sequin skirt and haven't been able to find a like. I love the look of this skirt. I may have to try this one day.
This is such a cute DIY! I've been loving sequins skirts lately.
http://www.lyzhang.com
This is a BRILLIANT diy, I am going to try something similar. Thank you for the inspiration! :)
what a neat idea! you did a great job. did this take long?
Really great idea Sydney! Have you worn the skirt often? I'm curious as to how it's holding up!
Wow 5 hrs!! That's dedication for you but the result is a stunner for sure!!
katattack2000.wordpress.com
So creative of you & it's super cute! I don't think I would have the patience ;)
Just curious...how are you gonna wash it?
wow that skirt looks amazing!
Nahh, Sydney, this is a DIY skirt! A semi-DIY would be... a half-sequined skirt? Lol, for some reason that's what I was picturing in my head. Great job with this; I especially like the larger sequins.
What a labor of love! Did you start from the top or bottom? Did you overlap sequins? Such a great turn out!
This looks fantastic! I have a black sequined skirt, but I might do this for a dress or a skirt in a different colour! Thanks for the tutorial! How are you finding the skirt holds up?
i am so impressed with your DIY, sydney! this is so clever and the perfect way to get the exact sequin shine, shape, and colour that you want (methinks it's time to run to a craft store and get some gold sequins!) thanks for this AWESOME tutorial!
WOW! This is great! I bet it would take much longer to glue all of the sequins if you picked the smaller ones. ;)
That's a lot of patience you got there, Sydney. Admiring your final work and your stamina. :)
Thanks for sharing your DIY tips. It is amazing!
I am thoroughly impressed! I can't believe you had the patience to put
on every single sequins! Amazing and it turned out beautifully:)
Kudos on gluing all of those sequins on - the end result is so pretty!
AMAZING, Sydney. A lot of labour, but definitely worth it in the end for such a unique piece. Love the big sequin pieces. YAY <3
@Elaine A (TOBeautyReviews), @Anonymous, @Jyoti, @Our Wired Lives These sequins are very lightweight so they don’t add much weight to the skirt. However, it does feel a bit heavier. I just have to be careful when putting it on and/or taking it off. Other than that, the skirt seems to hold up pretty well. As far as washing it, the liquid stitch is machine washable. However, sequins are non-washable. I consider this skirt as a costume piece (something that I only wear one or twice a year). I plan on using an at-home dry cleaning product when needed.
@Lisa Ng I started from the top and continue to work towards the bottom. Yes, those sequins were slightly overlapping each other. I hide the tiny hole in the sequin by tucking it underneath the top sequin (as they're intended for sewing). I hope that makes sense =)
@PetiteLittleGirl Thanks, PLG. Totally makes sense!!!
That is gorgeous!!
Wow Sydney, you're so crafty! I love the final look of your skirt, it's very fancy :)
I've been curious about this skirt since you initially posted it, Syd. Great job on saving quite a bit for a sequin skirt that fits, plus having fun with your little one. Win-win!
Oh my gosh Sydney, I'm obsessed!! Love it!
That's amazing! Takes a lot of patience to do that and you did a great job! Such a chic skirt!
You make DIY seem so effortless so thanks so much for sharing! will definitely attempt soon! xo
Post a Comment